Assigning Access Codes in Catalyst
Assigning codes for Everything DiSC on Catalyst is almost the same as assigning Access Codes for any profile in EPIC. Watch the video or read the instructions below to get started.
Instructions
Go to Manage Reports | Create New Report/Issue Access Codes | Assign Access Codes
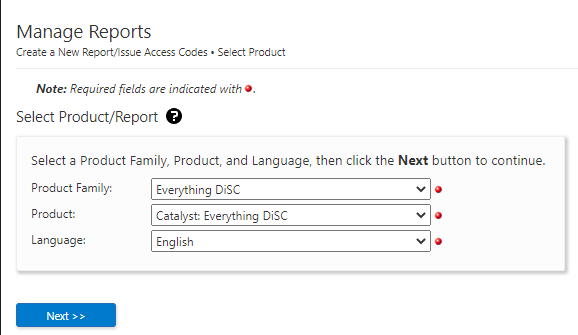
Select Everything DiSC, then Catalyst: Everything DiSC.
Click Next.
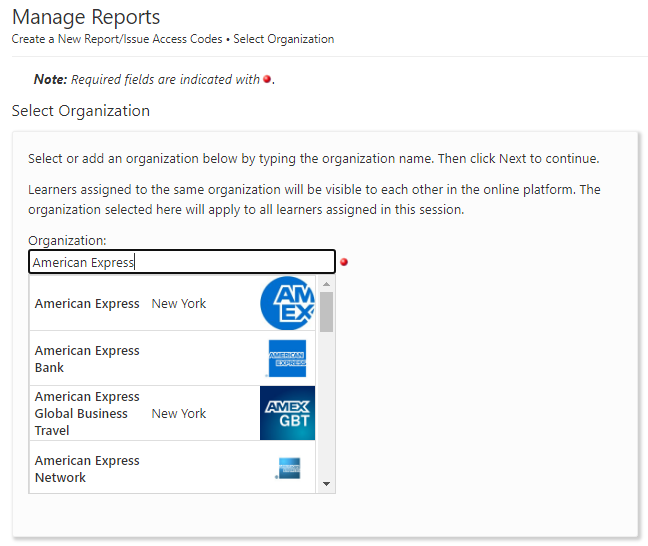
You’ll now be asked to enter the name of your learner’s organization.
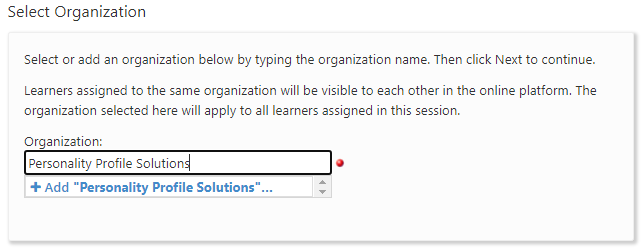
If EPIC doesn’t already have your organization listed, just click the + Add option that appears at the top of the list.
The next screen confirms your report selection and allows you to select a folder and/or schedule your email(s) to your learner(s).
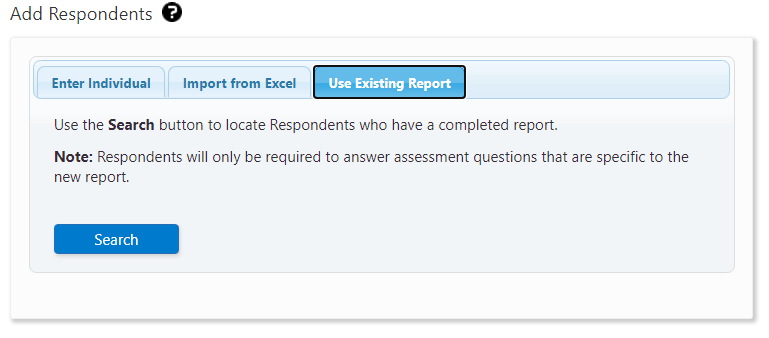
Use one of the three available methods to add learners who will receive a Catalyst Access Code Email to complete their online assessment.
Enter Individual: Enter an email address and a name for a learner; then click Add. Use this option for learners that have not completed an Everything DiSC assessment in the past.
Import from Excel: Click Upload to upload and import a list of learners. The file must be an Excel worksheet (.xls or .xlsx). You can download a template on the Import Respondents tab. See Importing learner names.
Use Existing Report: Click Search to locate and select learners with completed Everything DiSC access codes.
In the example below, the first two people have already taken a qualifying assessment and will not require the use of any EPIC credits. Team Member’s profile will cost 15 credits. Sample Member is being added without using an existing report and will also be charged.
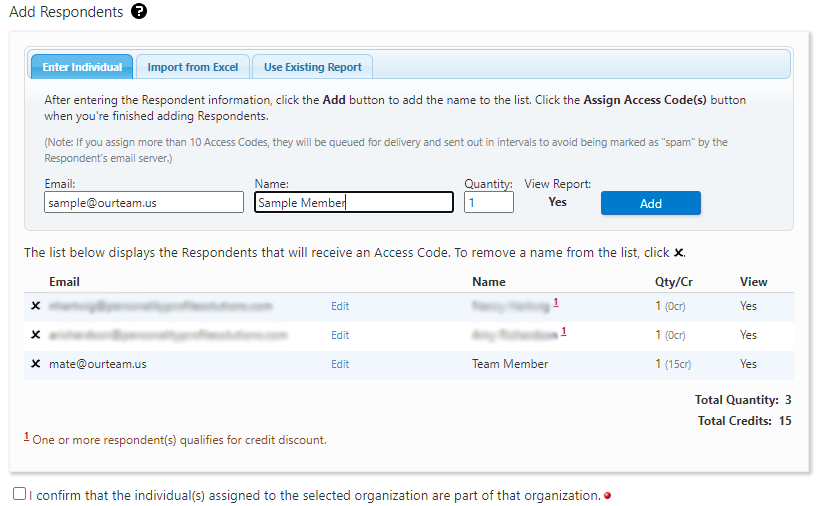
Select the organization confirmation checkbox below the respondent list.
Click Assign Access Codes.
Click OK to confirm the credit deduction.
Click OK to customize the email to learners or click Cancel to have send the default email message. The confirmation page displays a summary of the product you just created, the learners who will receive an email, and EPIC credit activity associated with this transaction.


